Dive into the process of creating a beautiful hand made decor
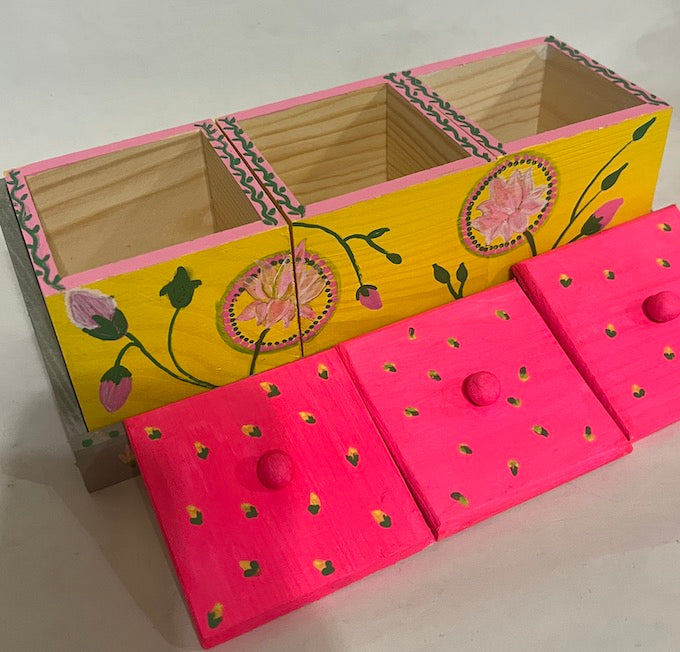
Hand painted wooden box or decor, ideas are unlimited , make a tray, coaster, wood letter, jewelry box, vase or tissue box cover.
It is always unique, useful and creative !!
If you love art and always wanted to make something , now is the time.....
Love hand painted wooden decor , then let's do it together!!
Step by step guide to paint and create your own wooden boxes and more.
Gather your supplies

- Wood box, crates, shelf
- Sand paper for wood prep
- Gesso
- Acrylic paint ( your favorite colors)
- Paint brush ( different sizes)
- Masking Tape
- Pencil
- Acrylic markers
- Gesso
- Acrylic paint ( your favorite colors)
- Paint brush ( different sizes)
- Masking Tape
- Pencil
- Acrylic markers
- Sealant / varnish

Once you are ready with supplies , let's begin the fun of creating !!
Step 1 - Sanding

Sanding is a must , to create an even texture and to brush off any unevenness which may be present on the box or your wood .
Sanding gives an even and smooth texture.
Step 2 - Gesso
Gesso is thick paste applied on wood as first layer to give an extra protection and to avoid the paint from seeping in the wood and gives an even tone too.
Apply little water to gesso to adjust the consistency, not very thin nor thick.

Paint your box with this gesso paste and let it dry completely.

Step 3
Paint the base with your favorite color

Let it dry !!
While it dries .....
Sip a cup of coffee & enjoy your victory you are doing great !!!!
Step 4
Think of a design and draw it on your box lightly

Designs can be intrinsic , simple, boho inspired, scenery, geometric , floral or just dots and stripes , it should be your happy pick.
Check this for more ideas -
https://sinhascreations.com/blogs/news/how-can-we-paint-wooden-boxes-and-make-them-a-pretty-gift-box
Step 5
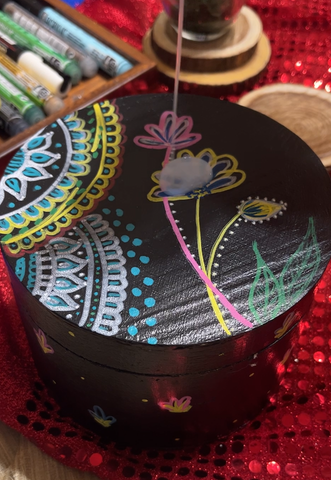
Start adding colors to your design , if you are using markers start your designing .

I like to blend paint and markers both while designing.

Markers really work great for fine lines and quick mess free art.
If you are a beginner , you will love using acrylic markers.

I have used Peebeo / Posca acrylic markers .
An optional step - Once your design is ready you can use mirrors, gems or glitters to decorate it even more or just let your hand painted design do the job.
Every little thing matters, do not forget the final touches!!

See the difference, play with color combination and see colors bringing joy to your art !!!

Optional art , I used markers to design the rim too

Step 6
Once your paint is dry and your design is complete , time to coat it with sealant or varnish for the final touch .
Sealant is a must for longevity of your wood art.

Varnish can be matte, gloss , apply a nice even coat of varnish and let your work shine.

Last but not the least
Enjoy the beauty you just created , whether it' s your first or 100th art , joy of a completed art is just the same every time.
You are ready to gift your beautiful hand painted decor to your friends, family or keep it for yourself.
The most important thing about hand made gifts is that they are always one of a kind, thoughtful & special as it is made with lots of love, care & time.
All PRICELESS !!