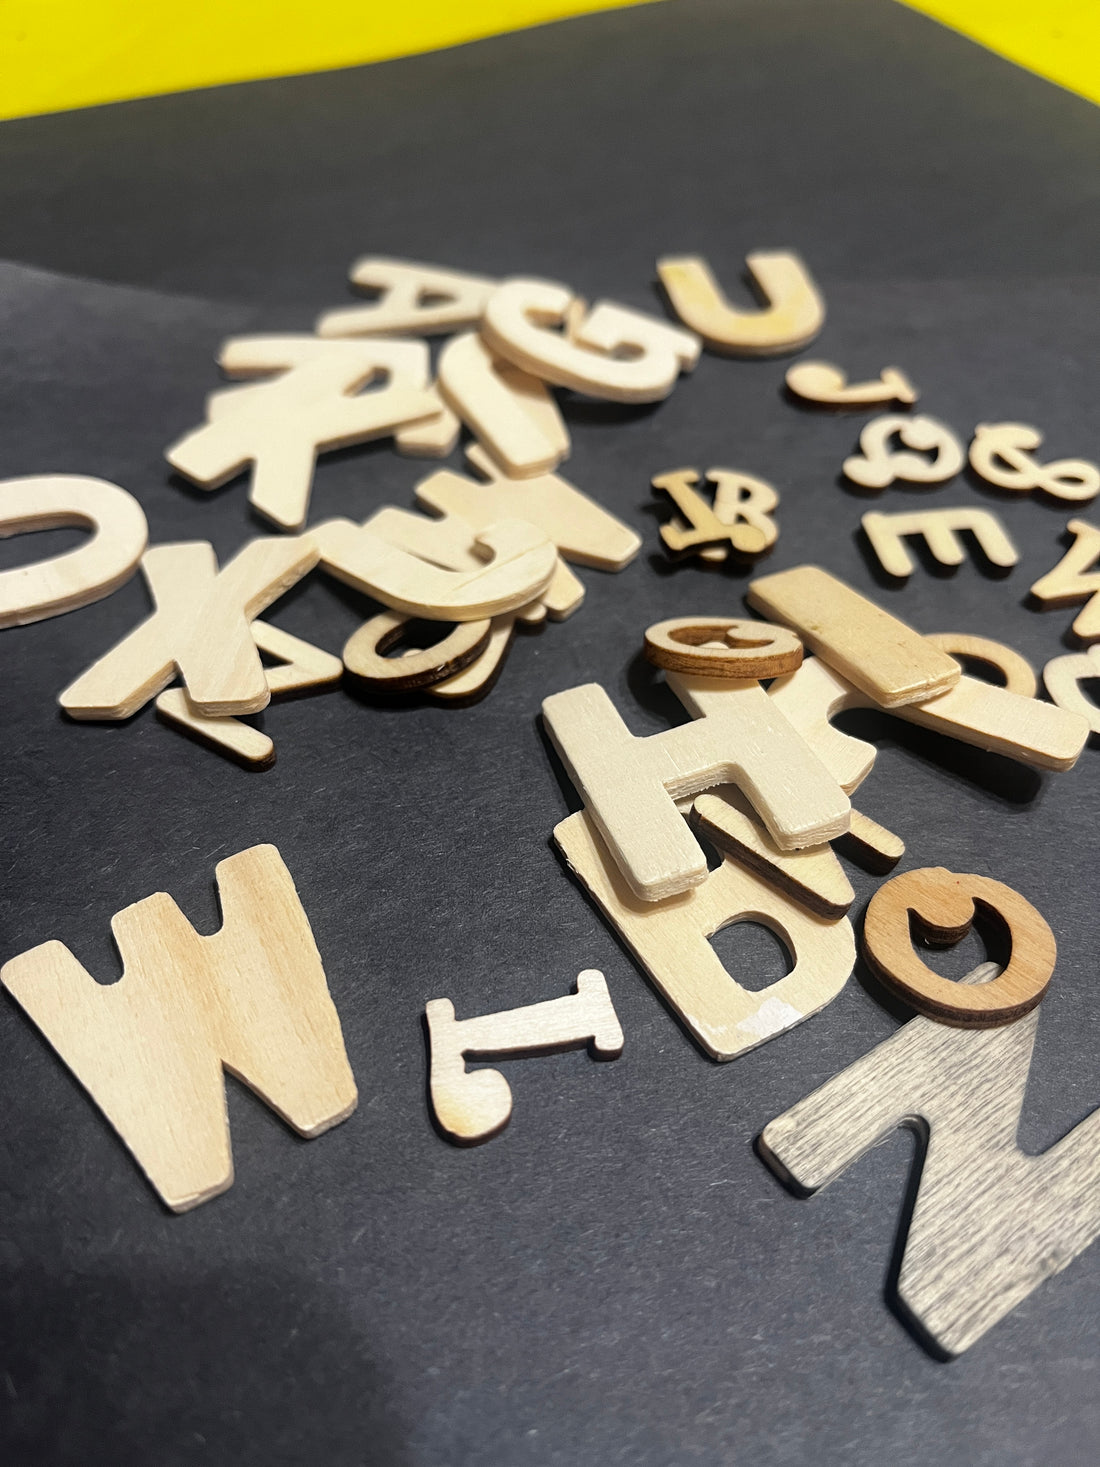
Are you looking to add a personal touch to your home decor? Why not try your hand at creating your own wooden letter hand painted art? It's a fun and creative way to decorate any space, and the best part is, you don't have to be a professional artist to do it!

Step 1: Gather Your Materials

First things first, gather all the materials you'll need for this project. You'll need
- wooden letters (you can find these at your local craft store),
- acrylic paint in your desired colors,
- paintbrushes,
- painter's tape,
- sponge brush
- scrap paper to protect your work surface.

Step 2: Prep Your Letters
Before you start painting, make sure to prep your wooden letters.
Sand down any rough edges and wipe them clean with a damp cloth to ensure a smooth painting surface.
Step 3: Get Creative with Your Design

Now comes the fun part - it's time to get creative with your design!
Whether you want to paint a floral pattern, a geometric design, or simply your favorite quote, the sky's the limit.
Don't be afraid to experiment and let your imagination run wild!
You can also use painter's tape to create clean lines and designs on your letters.
Step 4: Start Painting
Grab your paintbrushes and start painting your wooden letters. Remember to work in thin layers and let each layer dry completely before adding another one.
This will help prevent any smudging or smearing of the paint.
You can make free hand designs with acrylic markers too.

Step 5: Add the Finishing Touches
Once you're happy with your design and the paint has dried, it's time to add the finishing touches.
You can add a coat of varnish to protect your artwork and give it a glossy finish.


Or, if you prefer a more rustic look, you can distress the letters with sandpaper.
And there you have it - your very own wooden letter hand painted art!
Whether you display it on a shelf, hang it on the wall, or use it as a centerpiece, your unique creation is sure to add a touch of personality to your home decor.

Time to grab your paintbrushes and get creative!

