Pretty mint green hand painted jewelry box

Hello dear readers,
Feeling artsy....
Are you in a mood to create something pretty, but don't know what?
How about a hand painted jewelry box to store your pretty essentials, a pretty box created in your favorite color & style is always going to be extra special!
Adding a personal touch to your space!
I love creating these pieces and I gift it to my friends and family or make custom pieces on order.
It is fun and brings immense joy to see these pretty boxes.
I find these boxes in different styles and sizes in craft stores and decorate them in fun ways.

Are you ready to create this mint green beautiful wooden box to store your pretty bangles or any other essential.
Supplies you need
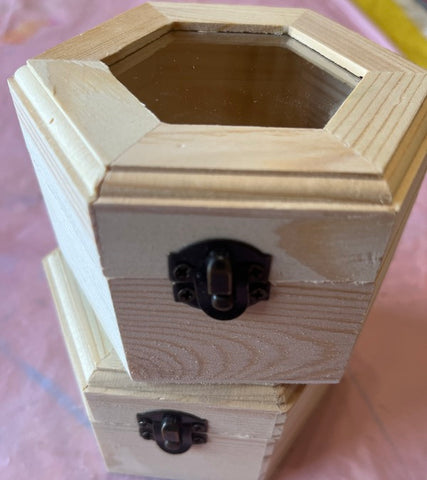
- unfinished wooden box or an old jewelry box


These are from hobby lobby.
- gesso to prime the box,
- sand paper for smooth finish,
- acrylic paint of your choice,

- paint brush thick for the surface fine ones for detailing,
- acrylic markers are optional but useful for quick and simple art, works well for any level artist perfect for beginners!

- gems & glitters are optional for extra fun and fancy look.
- Varnish to seal your art and to give a complete finished look.
DIY - a pretty green wooden box

To create this style I first evened the surface with sand paper and applied gesso as a prime coat, once it dried completely I painted the box smoothly with a nice and even coat of this pretty shade of green.
You can choose any acrylic color of your choice from the variety of shades available.
I painted two nice coats, till I got a fine smooth finish.
P.S- apply second coat after the first one dries or you will see brush marks.
Once the paint is dry I started off with very basic floral design, I love colors so I painted colorful flowers and leaves, you can pick one or two shades too, in pattern or all over.

I used acrylic markers first to create the borders on the side and floral design on top and then filled with paint and glitters and then added some gems to give a complete look.
If drawing, sketching or doodling is not your style you can use stamps too to create adorable designs -

check my blog about creating designs with stamp, if you don't want to make a design.
I use wood glue to glue these gems.

Kept the sides simple pattern and

back side with colorful dots to go along with the art.
Once I finished all the art, glitter, gems waited for everything to dry and then with a paint brush applied a thin layer of varnish to seal the art and that extra gloss.
Mod podge works fine too as a sealant.
TIP- Always make sure that the layer dries up every time before you add a second coat, if you need to.
So was this not easy, how does this look? If you like it please share this read with your friends who would love to create and also with friends who love to shop hand painted gifts and boxes.
Check out more gift boxes and jewelry box on

